32 bit (HDRI) Workflow
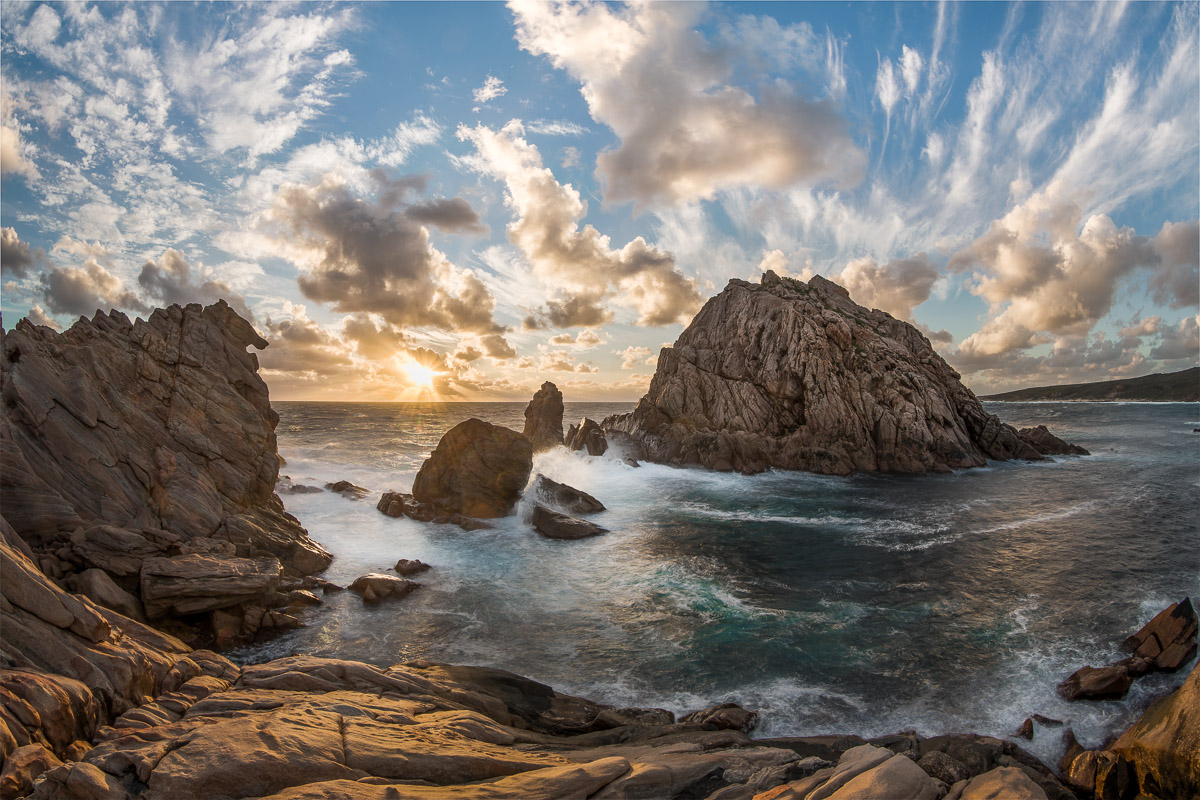
Sugarloaf Rock
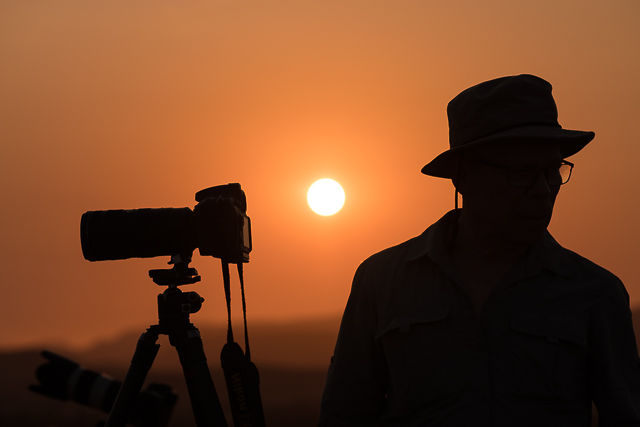
Did you know that HDRI (32-bit) photos can be edited in Lightroom? It’s much easier than using dedicated HDR software and gives a more photo realistic effect. My goal is to try to capture what my eye really saw, and this image does just that. I could clearly see all the details in the rocks (they were not a silhouette) and I could clearly see the rays around the sun (they were not a white overexposed blob).
By HDRI (High Dynamic Range Images) I mean sets of exposure bracketed images that have captured a wider range of tonal information than a single capture can deal with. This image contains 15 stops of tonal range, from the bright clouds around the sun, to the face of Sugarloaf Rock. I set the camera to auto-bracket 5 frames at 1.5 stop intervals so that’s -3 -1.5 0 +1.5 and +3. Sometimes 2 stops between exposures will be necessary.
The idea is to set the bracket so that there is one frame with all the highlights recorded fully within the histogram (the -3 or -4 shot) and one where all the shadows and low tones are fully exposed (the +3 or +4 shot). By having five images in sequence you can get a smooth tonal blend without having to use Local Operators like Photomatix – what we will be doing is compressing the tonal range using Lightroom’s controls.
A single 16 bit image struggles to contain such a brightness range with any sort of decent tonal quality – it’s possible but the shadows will be quite noisy. By using 32 bit files we can include all the image’s tones without any problems – we just can’t view them all at the same time becuase the monitor can only show 8 bits of tonal data.
In Lightroom, adjust the five images so that they are each low contrast ( – 40 on the contrast slider and -1.00 exposure seems to work well). Set the white balance the same for each image too, but leave the other sliders alone.
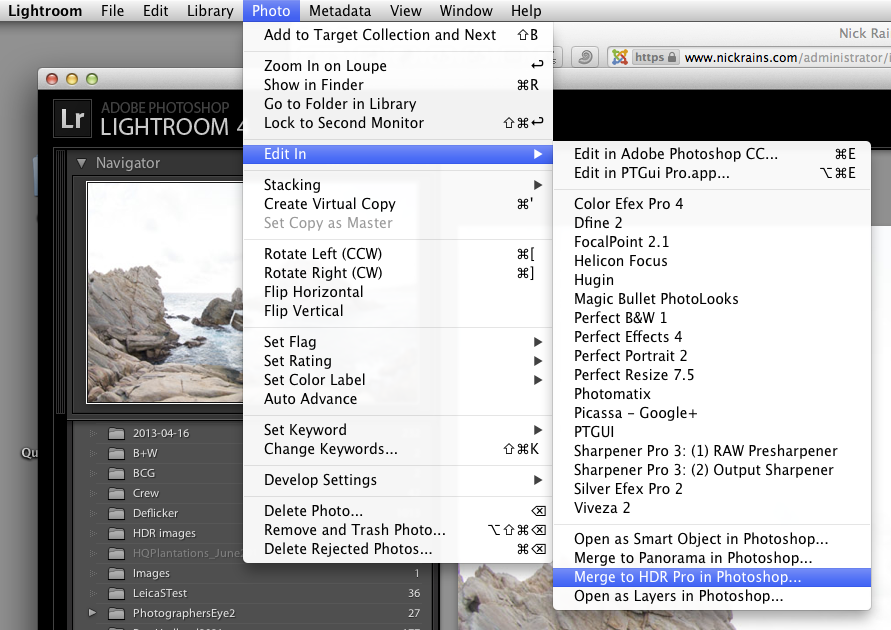
Then, with all five images selected, go to Image > Edit In > Merge to HDR Pro in Photoshop.
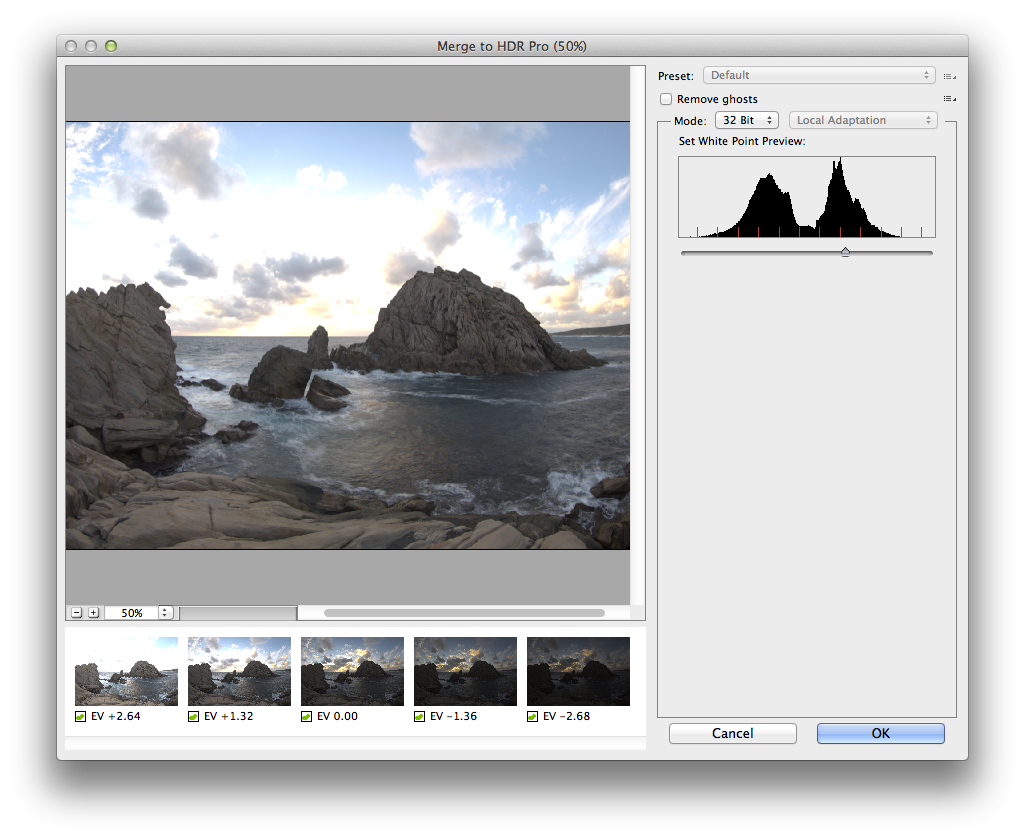
When it’s done, make sure Mode > 32-bit is selected at the top of the dialogue box and just click OK. Then hit Save (commands) and the new 32-bit TIFF will appear in Lightroom next to the files it was created from.
It will look odd but all you need to do now is to use the shadows and highlights controls to open the shadows and reduce the highlights to where it looks good. The tonal details are all there, the shadows are not noisy and the highlights are not blown out to white. It’s quick and easy, the only drawback is when parts of the image have moved – such as waves. One refinement in the shot above is that I took some other images – exposed for the water – that were timed for the waves breaking on the central rocks. I brought this image into the final image in Photoshop and masked it in – it’s hard to time shots when using auto-bracket and the breaking waves add a lot of drama to the scene.