Perspective and Photography
A more formal definition of perspective would be “the way objects appear to the eye based on their spatial attributes and position relative to the observer”.
That may or may not make things clearer!
From the photographers point of view ( I was going to say ‘perspective’ there!) *perspective* is a term used to describe the visual effect of objects appearing smaller in the photograph the further away they are and conversely, how they look bigger the closer they are. This might sound too obvious to be worth discussing but it turns out that perspective is one of the most powerful tools at your disposal when you compose your photos.
Using perspective in a photo allows you to control the sizes of objects relative to one another in the frame of the camera. Think of the way that the Sun and Moon appear roughly the same size in the sky but are actually vastly different sizes. It’s only because the Moon is nearer that it appears to be the same size as the Sun when, in fact, it’s vastly smaller.
Here’s a good example from a recent trip to the South Australian Outback.
In the first image the windmill looks minuscule compared to the huge ramparts of Wilpena Pound in the background. In the second photo, the same windmill towers over the far less dominating hills behind.
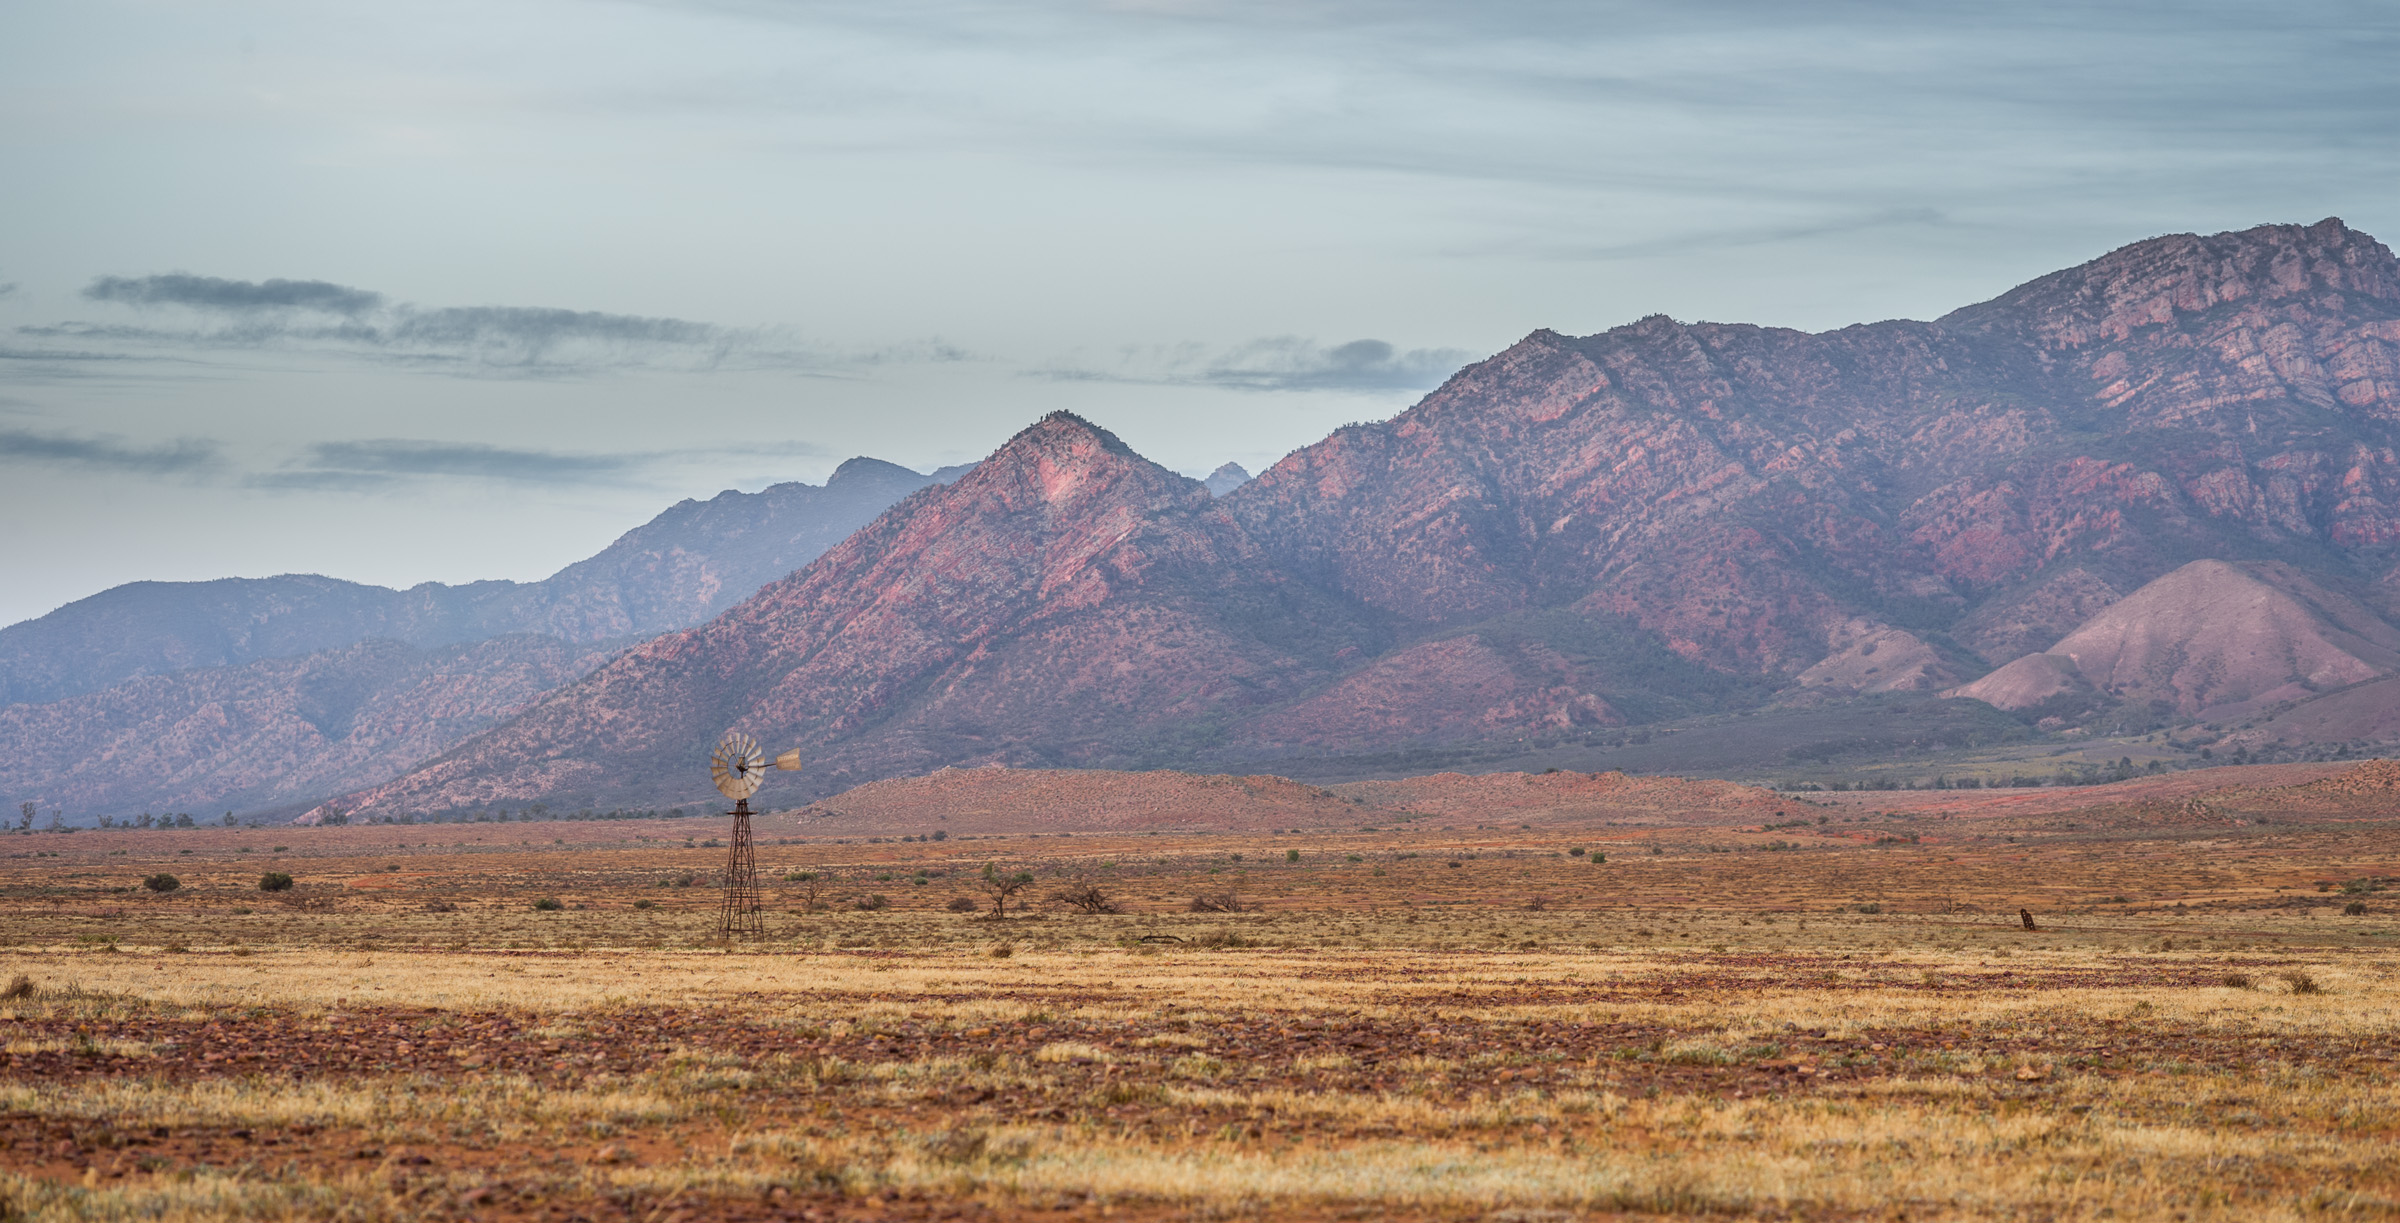

The only thing that has changed is my position when I took the photo. By coming a lot nearer to the windmill I can make it look larger in the frame, whilst the hills are still a reasonable distance away. This simple concept means that I can control how objects appear in the frame relative to each other by moving myself around both side to side and forwards and backwards – thus the objects can be positioned in the frame in any number of different places even though they are not actually moving themselves.
Perspective also becomes a useful concept what you want to show three dimensional depth in in image. As we all know from primary school, parallel lines apparently get closer together the further away they are. The classic image is one of power poles and railway lines receding into the distance, much like this shot of the railway lines in Marree. The railway lines are parallel but perspective makes them appear to converge to a point . I used this phenomenon to draw your attention to the (apparently) small locomotive by positioning myself between the two sets of lines so that both pointed directly towards the train.

Shadows cast by the sun are actually parallel too and in the same way that railway lines recede, so do shadows. In the image from Blinman Gymkhana I have used the shadows both as a strong graphic element and also to draw your attention to the spectators in the wool bale rolling competition.

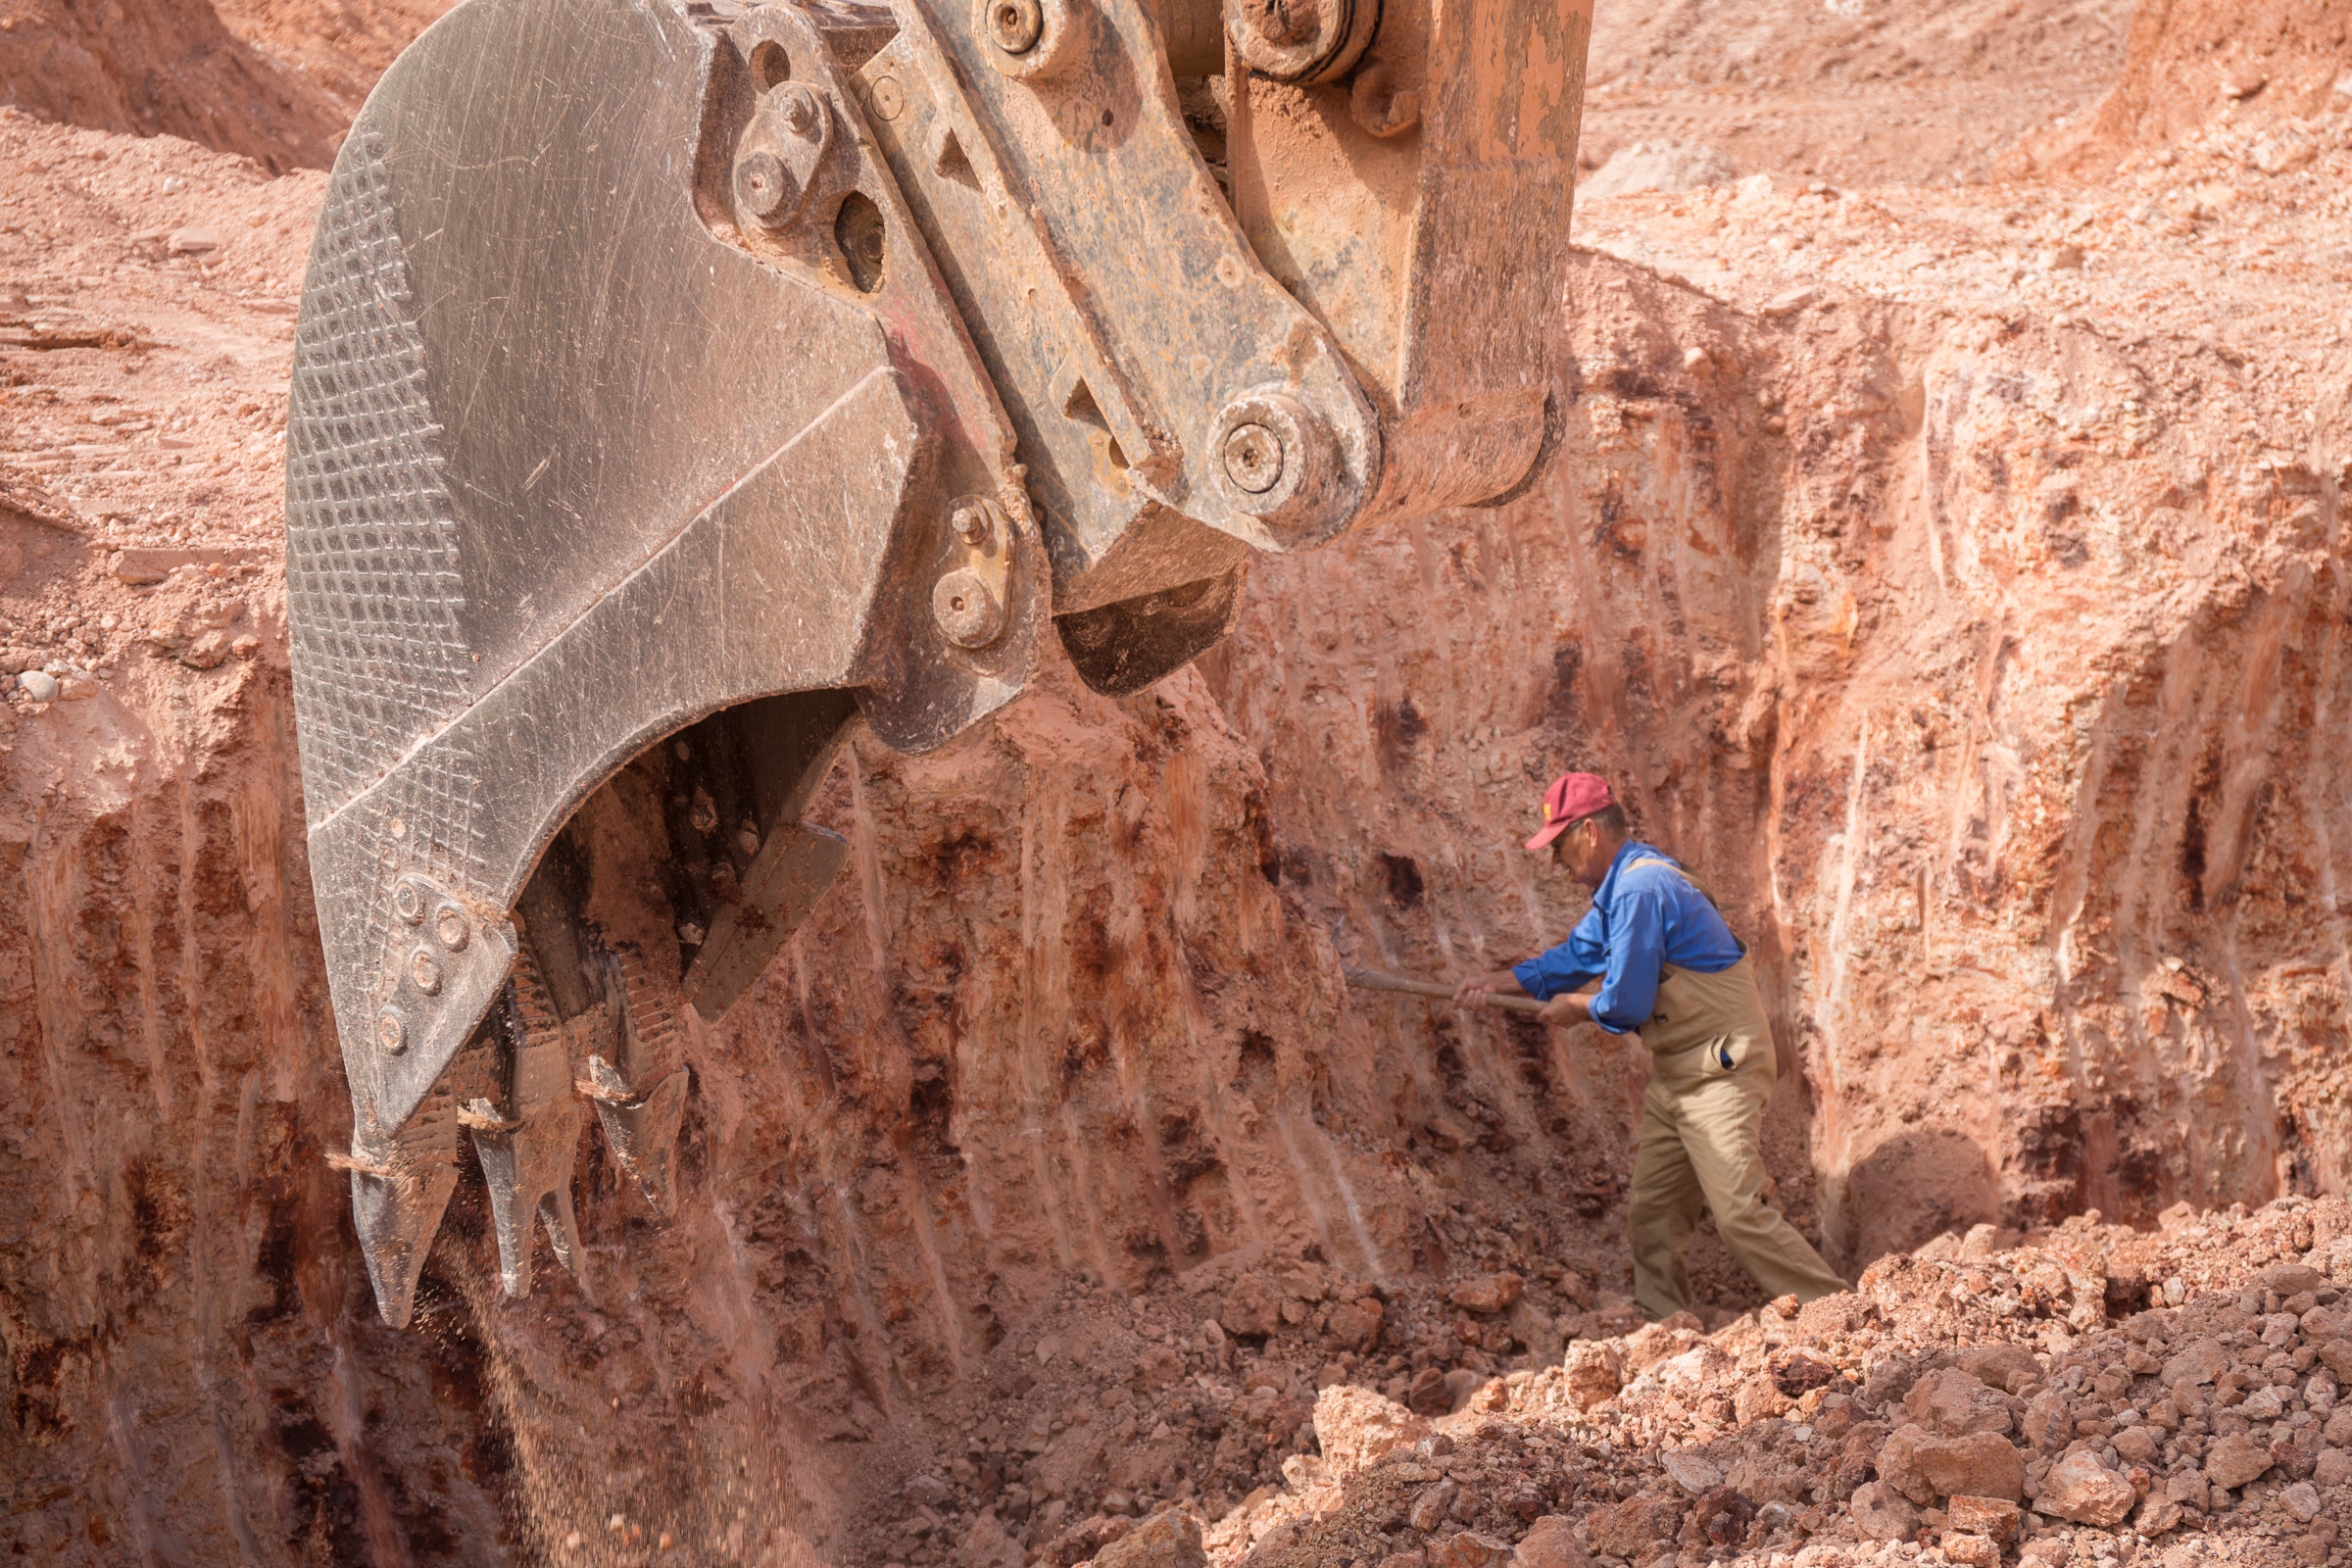
You can use perspective to make visual statements too. In this shot from the opal mining town of Andamooka I wanted to portray the power of the excavator compared to a human figure so I simply came closer to the bucket and so made it look so much bigger compared to the very familiar scale of the human figure beyond. If the two subjects had been similar distances from me the drama would have been lessened. I have created a kind of illusion by using perspective to make the excavator bucket a lot bigger *relative* to the figure as so make a stronger and more interesting image.
Lens choice is important. Wide angle lenses – 20mm, 24mm, 28mm etc – tend to exaggerate perspective as you get closer to a subject. This is one of the reasons that wide lenses make poor portrait lenses because when you come close to a face the nose looks a lot bigger than it should compared to the ears because it is a lot closer – the result is less than flattering! Wide lenses make near things look bigger and far things look smaller and so can be said to be ‘stretching’ the perspective.
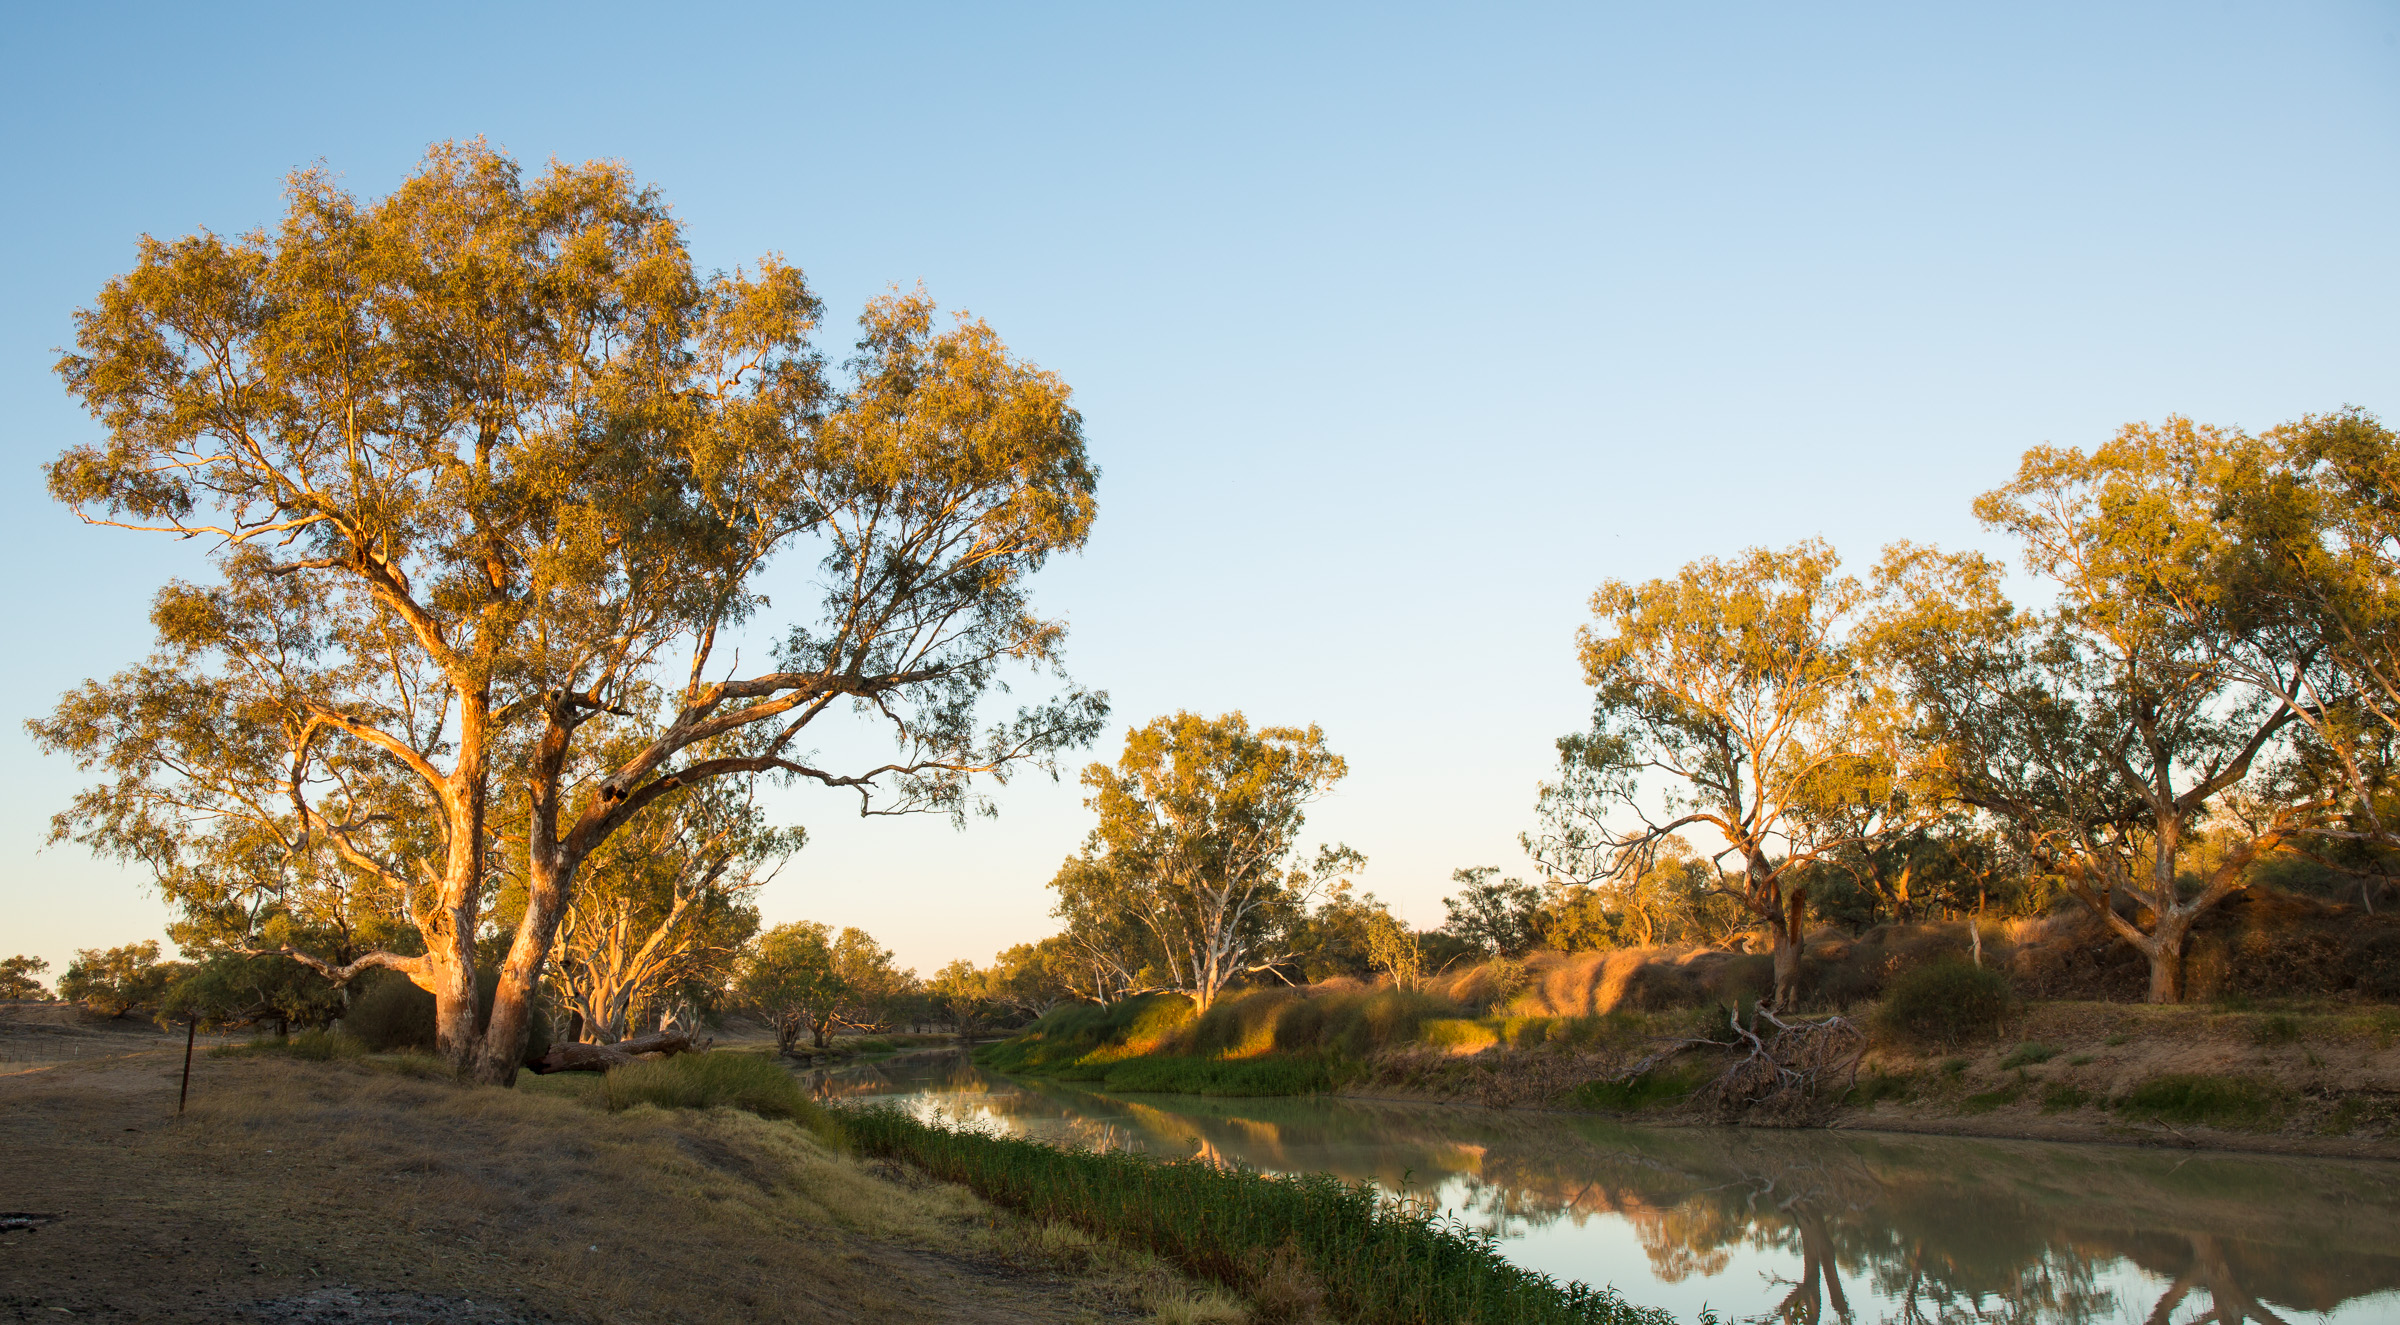
Longer, or telephoto, lenses have the opposite effect. They tend to bring distant objects *apparently* closer to nearer objects – this is called ‘perspective compression’ and it’s another useful tool to control the visual relationship between objects in your frame. These two images of Cooper Creek near Innamincka were taken with a 135mm lens and a 24mm lens respectively. One clearly looks ‘flattened’, because the trees do not vary much in size, and so the depth of the shot is less apparent than in the one take with the wide lens where the trees vary in size considerably.

There is another form of perspective that affects photography and can be used to show three dimensional depth.
*Aerial perspective* is the name for the effect of hills receding into the distance and becoming lighter, less contrasty and more blue. Because the hills are progressively further away, there is more atmosphere between them and you. This means more scattering of the light and thus the reduction of contrast, increase of lightness and a general ‘cooling’ of the colours. Because we see this every day in the real world, whether we notice it or not, it is a very strong visual clue that some things are further away than others. Aerial perspective is at its strongest when using a long lens to also compress the optical perspective, shooting into the light and on hazy days when the effect is more pronounced.
This old image, my first 80 Series Landcruiser in a wide shot from the Victorian High Country, shows the effect very clearly – see how the hills become bluer and lighter as the distance increases. Also note how the road narrows and appears to recede into the distance – another depth perspective.

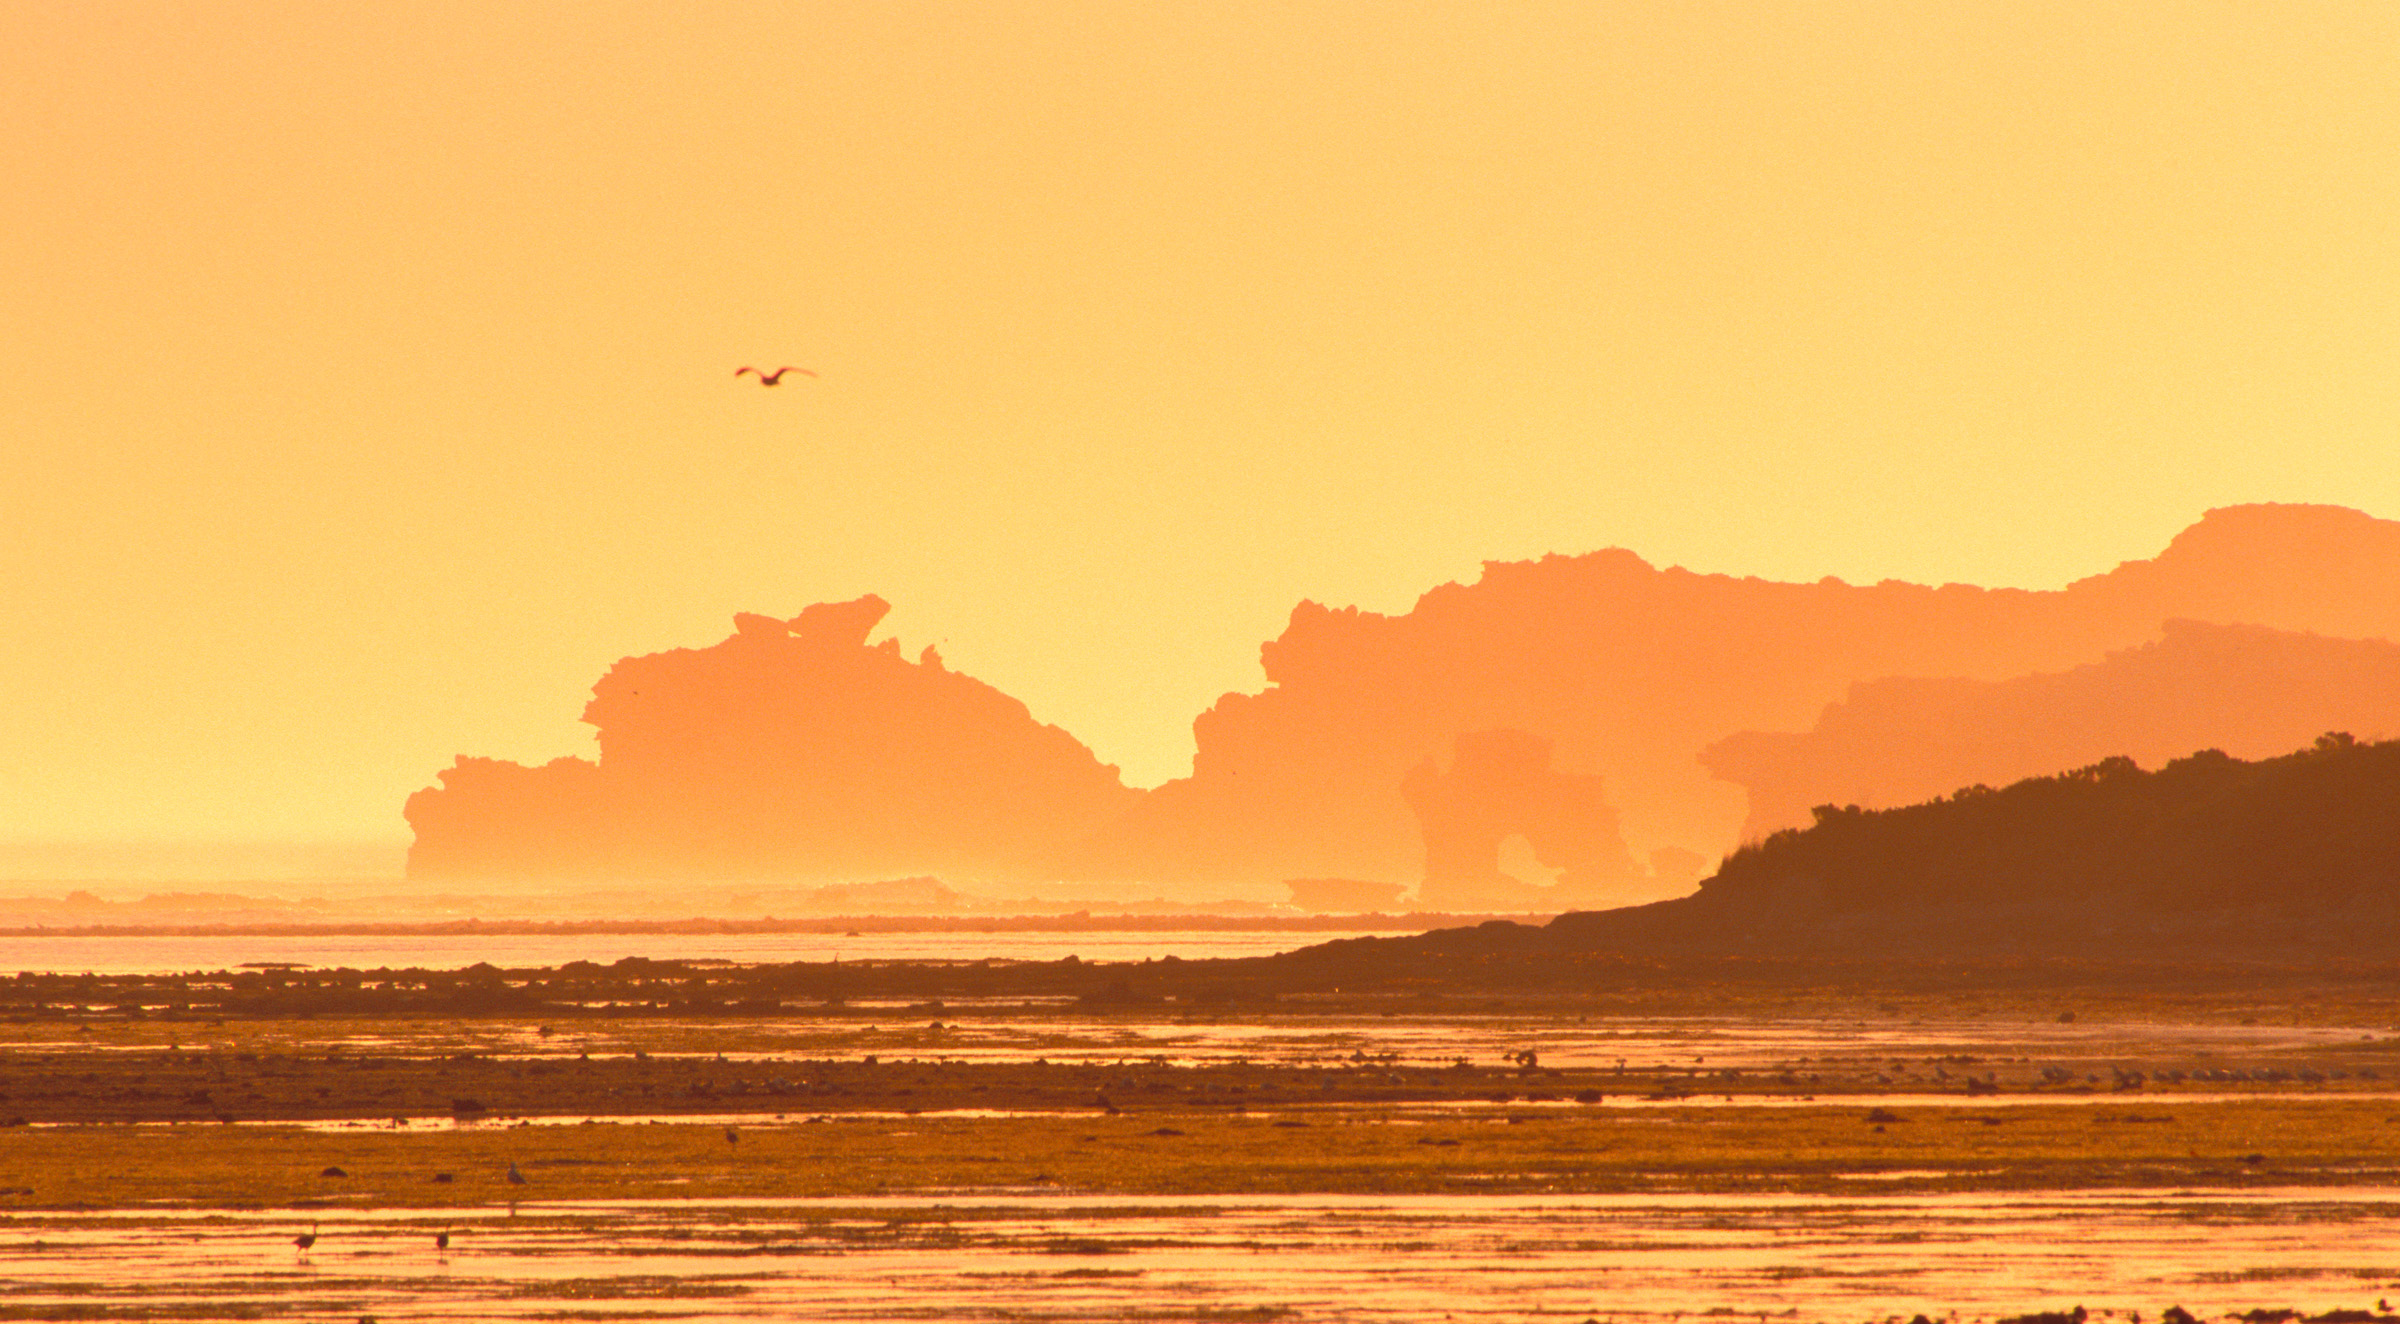
In the image from Robe in SA, shot straight into the setting sun using a telephoto lens for maximum effect, the overlapping rock formations also get progressively lighter but any increasing blueness is overpowered by the warm sunset colours and so is less pronounced.